I first came across backcountry cinnamon rolls on a backpacking trip with a pack of middle school girls. The girls swore the ooey gooey balls of goodness were the best part of the trip. I had to find out what the hype was all about later, since they didn't save any for me.
So, can you really make cinnamon rolls in the backcountry? Yes, it is possible. And it's a lot harder than I thought it would be. I tried four times, and failed three and a half. Out of the 20 cinnamon rolls I kneaded, rolled and cooked, only three came out edible.
On my first try, I learned that there is a reason humans invented the oven. Trying to bake things on a concentrated source of heat like a backpacking stove is next to impossible. Add in butter and sugar, and you get a blackened mess of dough mixture.
On the second try, I learned that even over a more dispersed open flame like a BioLite, if you make the dough too sticky, it will expand into pancake territory. On the third try, I learned that a thicker dough is not the answer. You want your dough really thin so there is enough delicious buttery, cinnamon-y goodness in every bite.
The fourth time, I stopped trying to make these darn cinnamon rolls myself, and I went straight to the source, a master backcountry baker. Her name is Catherine Jenson and she's the program director for
Backcountry Cinnamon Rolls
Yield: 6 medium cinnamon rolls
Ingredients
- Baking mix*
- All-purpose flour
- Cinnamon
- Brown sugar
- Raisins and nuts (optional)
- Powdered sugar (optional)
Directions
Step 1
Mix equal parts baking mix and flour. Dust with a dash of cinnamon ("for extra flav," Catherine said).
Step 2
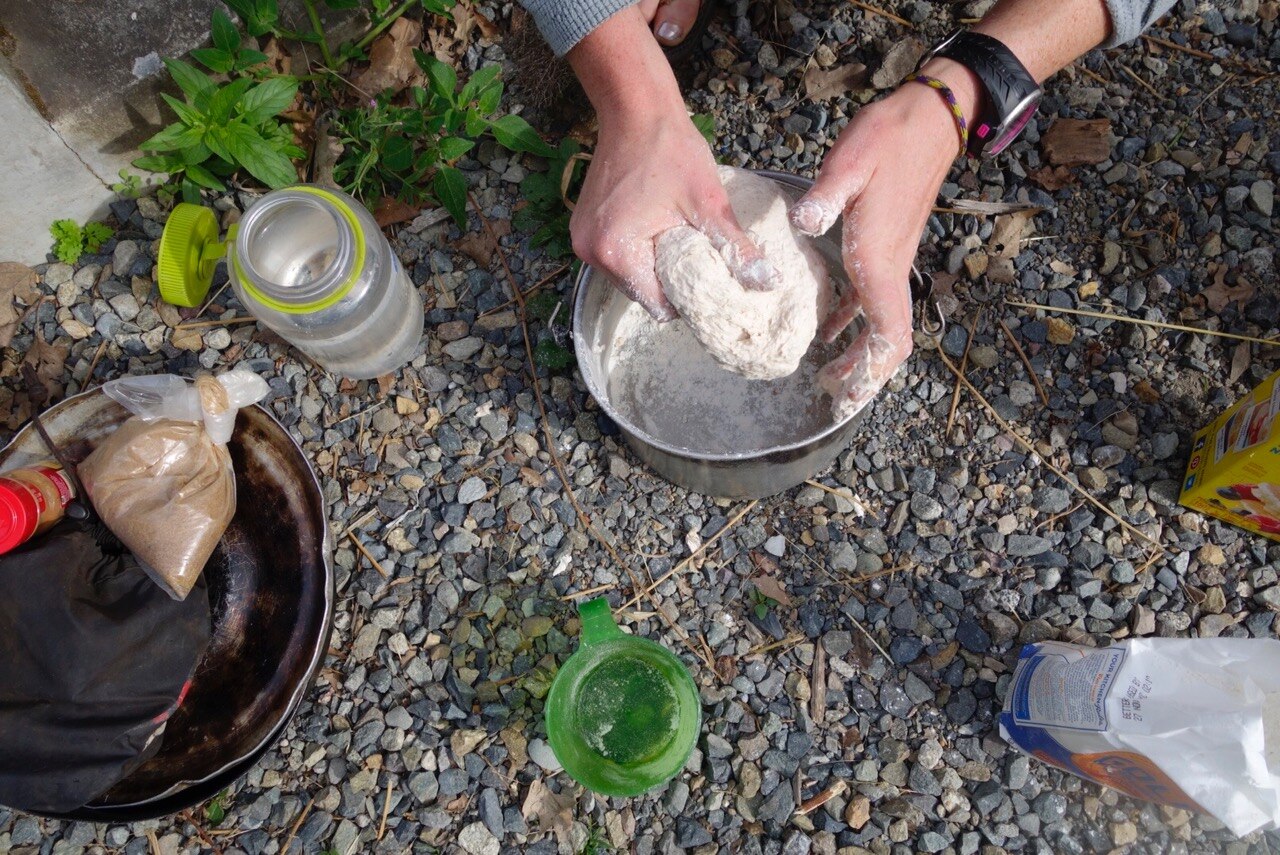
Add in water, a little splash at a time. You don't want this to get too runny. Mix until you have a dough ball that holds together, but isn't too sticky. We started mixing with a spoon, but then switched to kneading it with hands and added flour to de-sticky-fy it at the end.
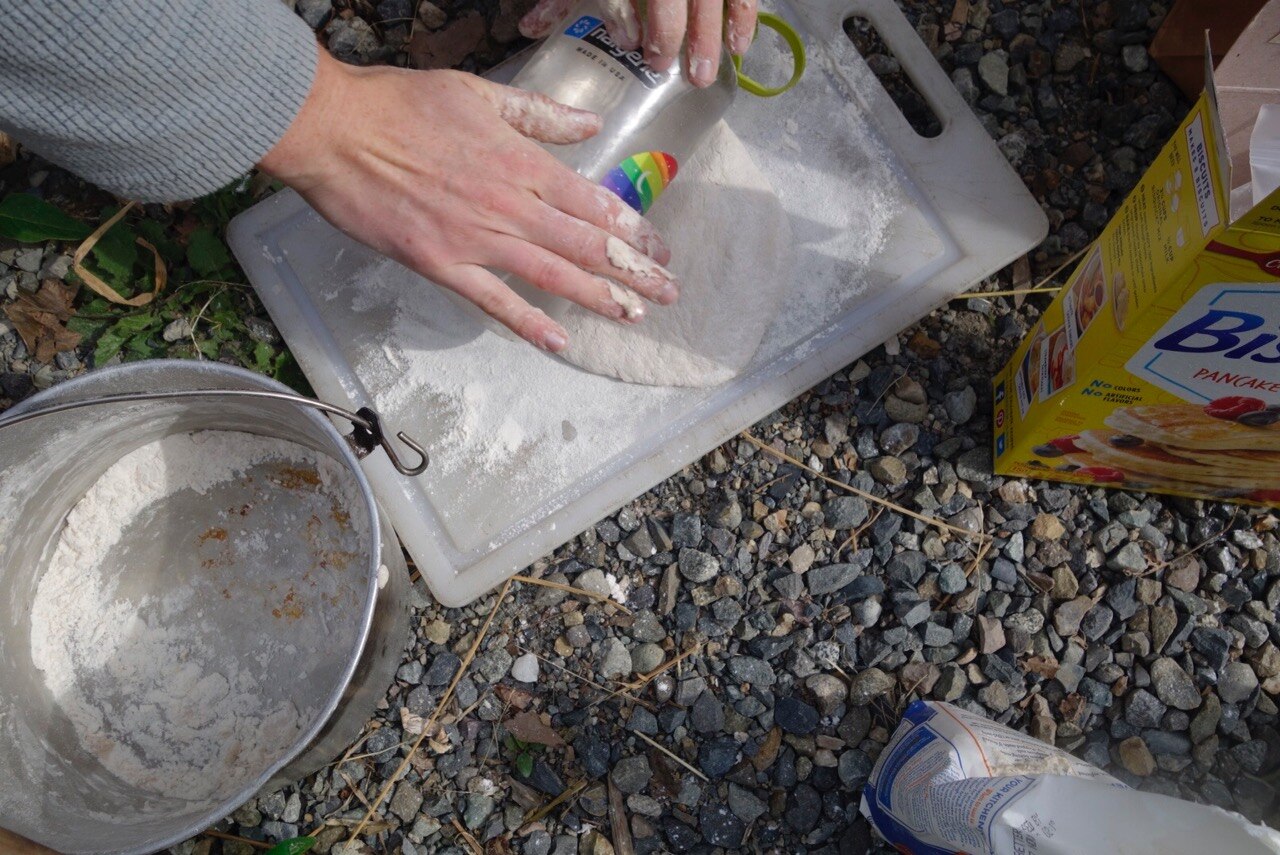
Step 3
Dust your flat surface with flour (we brought a cutting board). Roll the dough out into a rectangle (we used a Nalgene water bottle). Spread butter over the dough. Add a good amount of brown sugar to cover the dough. Sprinkle cinnamon over entire surface of the dough. Add a generous amount of raisins and nuts, if desired. Roll the long side up. Cut into small chunks.
Step 4
Light your backpacking stove (we used the MSR WhisperLite) and preheat your pan (any frypan will do), adding in a bit of butter. Place the cinnamon rolls around the outside of the frypan. Cover and cook for about 20 minutes—but check often.**
Step 5
Mix together powdered sugar and water until you create an icing to drizzle over top of cooled cinnamon rolls.

*Want to make your own baking mix, instead of buying it from the store? Mix 4 cups of flour, 2½ tablespoons of baking powder, ¼-cup of milk powder and 2 teaspoons of salt together and store.
**A few notes on not burning your rolls:
- These things burn easily—remember this is butter and sugar over a direct heat source. Watch your rolls like a hawk.
- Move the pan around the flame often. Move the cinnamon rolls around the pan often too, to stop them from adhering to the frypan.
- Flip your cinnamon rolls every now and then, so they cook on both sides.
- If you can, set up a holder to keep the frypan away from the source of heat. Catherine bent our windscreen to form a shelf, keeping the frypan above the flame, further dispersing the heat source.
- These cinnamon rolls cook quicker on the outside than on the inside. A pro tip, from Catherine, is to add some water to the pan and cover after 10 minutes, letting the cinnamon roll centers steam.
Also, don't be disheartened if you don't get it right the first time. Practice makes perfect.