If you lie down on your once-cushy sleeping pad and find yourself pressed up against the cold, hard ground, it's time to reach for your patch kit. Luckily, most fixes are simple.
Here are the steps for patching a hole in an inflatable sleeping pad:
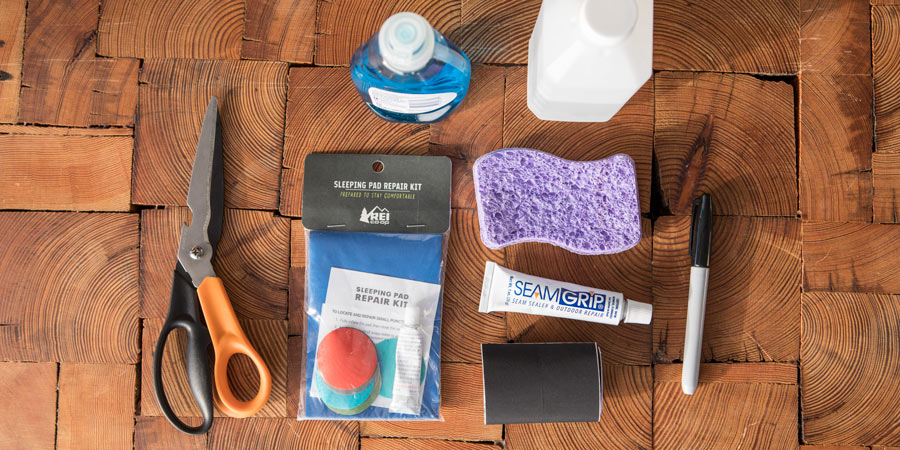
- Gather your repair supplies: Cleaner, a patch or tape, plus an adhesive.
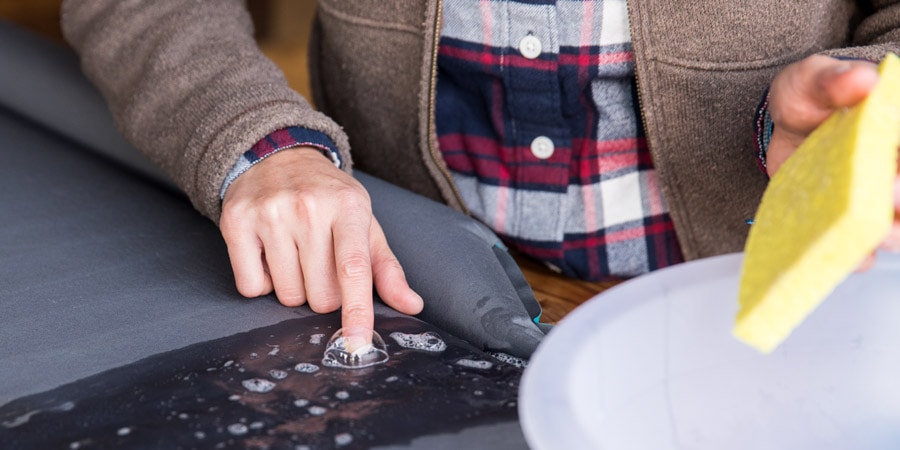
- Find the leak: Many are obvious; tiny holes require soap, water and a quest for tiny bubbles.
- Clean and dry the patch area: Alcohol-based cleaners are quick and easy.
- Apply the patch and wait: Give the adhesive time to fully cure.
This article describes how to apply a patch at home, and the steps here will work for most inflatable pads. If you pack repair supplies, then you can do a similar fix in the field. If your pad came with a patch kit, use that and follow the directions in the kit.
Video: How to Patch a Sleeping Pad
Gather Your Repair Supplies

If you already know where the leak is, then your supply list is short:
- Rubbing alcohol (in the field, you can steal a wipe from your first-aid kit)
- Tenacious Tape, Seam Grip and scissors, or a repair kit with precut patches and adhesive
If the leak is so small you can't pinpoint its location, then a full repair is a home project. (The temporary field repair is simply to reinflate your pad periodically.) To sleuth out the leak location at home, you'll need:
- A tub full of water
- A small amount of mild soap
- A sponge
- A marker
Pinpoint the Leak Location

The following steps will help you find an elusive micro-leak:
- Fill the tub with water and add a small amount of soap.
- Inflate the pad.
- Sponge the soapy water onto the surface and watch for tiny bubbles to appear.
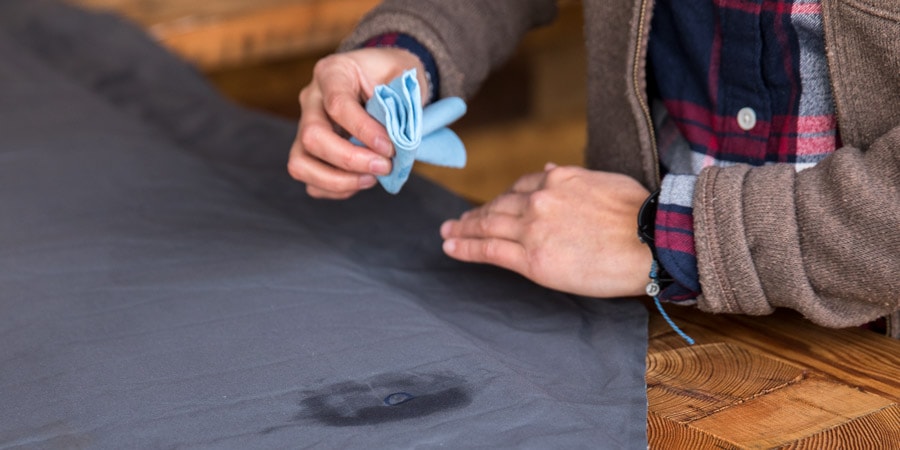
- Wipe and dry the spot, then mark it.
If you can't find the leak by sponging soapy water onto the pad, then submerge the pad. Squeeze it gently as you methodically check for leaks in different areas of the pad.
Prepping the Pad Surface

- Rinse off any soap residue and deflate the pad.
- Thoroughly dry the patch area.
- Wipe it clean with a small amount of rubbing alcohol.
- Give the alcohol a minute or two to thoroughly evaporate.
Applying the Patch

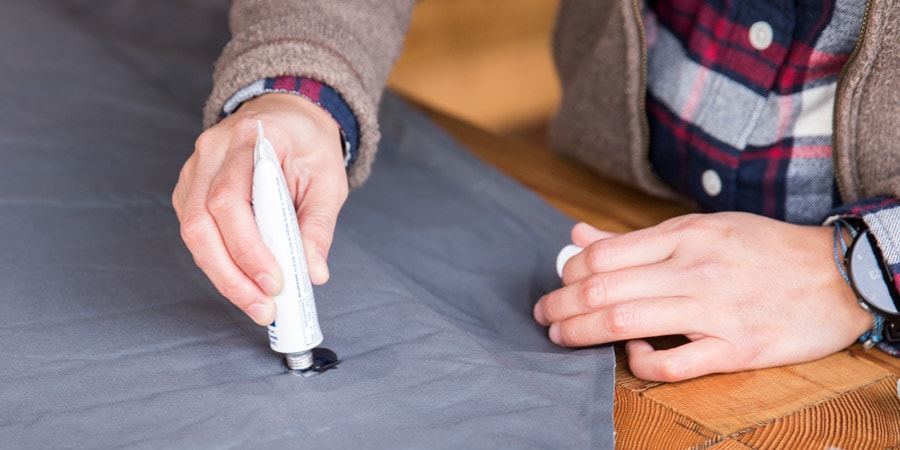
- Dab some Seam Grip on the hole.
- Spread a small amount of Seam Grip, thinly covering a 2-inch circle with the hole at its center.
- Cut a section of Tenacious Tape, ensuring that it precisely covers the Seam Grip.
- Trim (round off) the corners of your cut section, then put a thin line of Seam Grip all around the perimeter of the patch (that helps prevent peeling edges later).
- Check to see that the Seam Grip is slightly tacky.
- Firmly apply the patch.
After you apply your patch, let the Seam Grip cure overnight. Then inflate your pad and check for leaks. If none appear, then leave the pad inflated overnight and check it in the morning to be sure no slow leak is present.
Seeking Professional Help
If your repair didn't take, then it's time to contact a professional. First, check with the company that made your pad. If your pad manufacturer doesn't do repairs, they can suggest a service that does.
